

Showing posts with label Halloween. Show all posts
Showing posts with label Halloween. Show all posts
Monday, October 17, 2011
Flyaway Favors- Halloween Goodie Bags
Sending you child to school with Halloween treats for their classmates? Instead of using plastic goodie bags make these super cute and clever flyaway favors from Martha Stewart. What I love about these is not only are they really cute but they are also a green alternative to the plastic goodie bags so readily available (if you make the ghost bag, to keep it green don't use the cellophane bag).

Saturday, October 15, 2011
Candy Corn Vases & Bottle Vases
If you've been following along you would know by now my obsession with anything candy corn this Halloween season. I stumbled across a tutorial from The Swell Life on how to make these candy corn vases. I went to our local St. Vincent de Paul store and picked up a bunch of glass bottle vases and full size vases and really broke the bank. The bottle vases were $.25 and $.50 each and the larger vases were a whopping $1.25 each. Add a couple coats of Krylon paint in white, orange and yellow and viola...candy corn vases. I made extra ones for my kids to give to their teachers with some fresh flowers. Hey, some sucking up doesn't hurt. If you knew what a handful my 5 year old is, you would understand that we need all the sucking up to his kindergarten teacher we can get....or think of it as an apology gift. Get the step by step tute here.


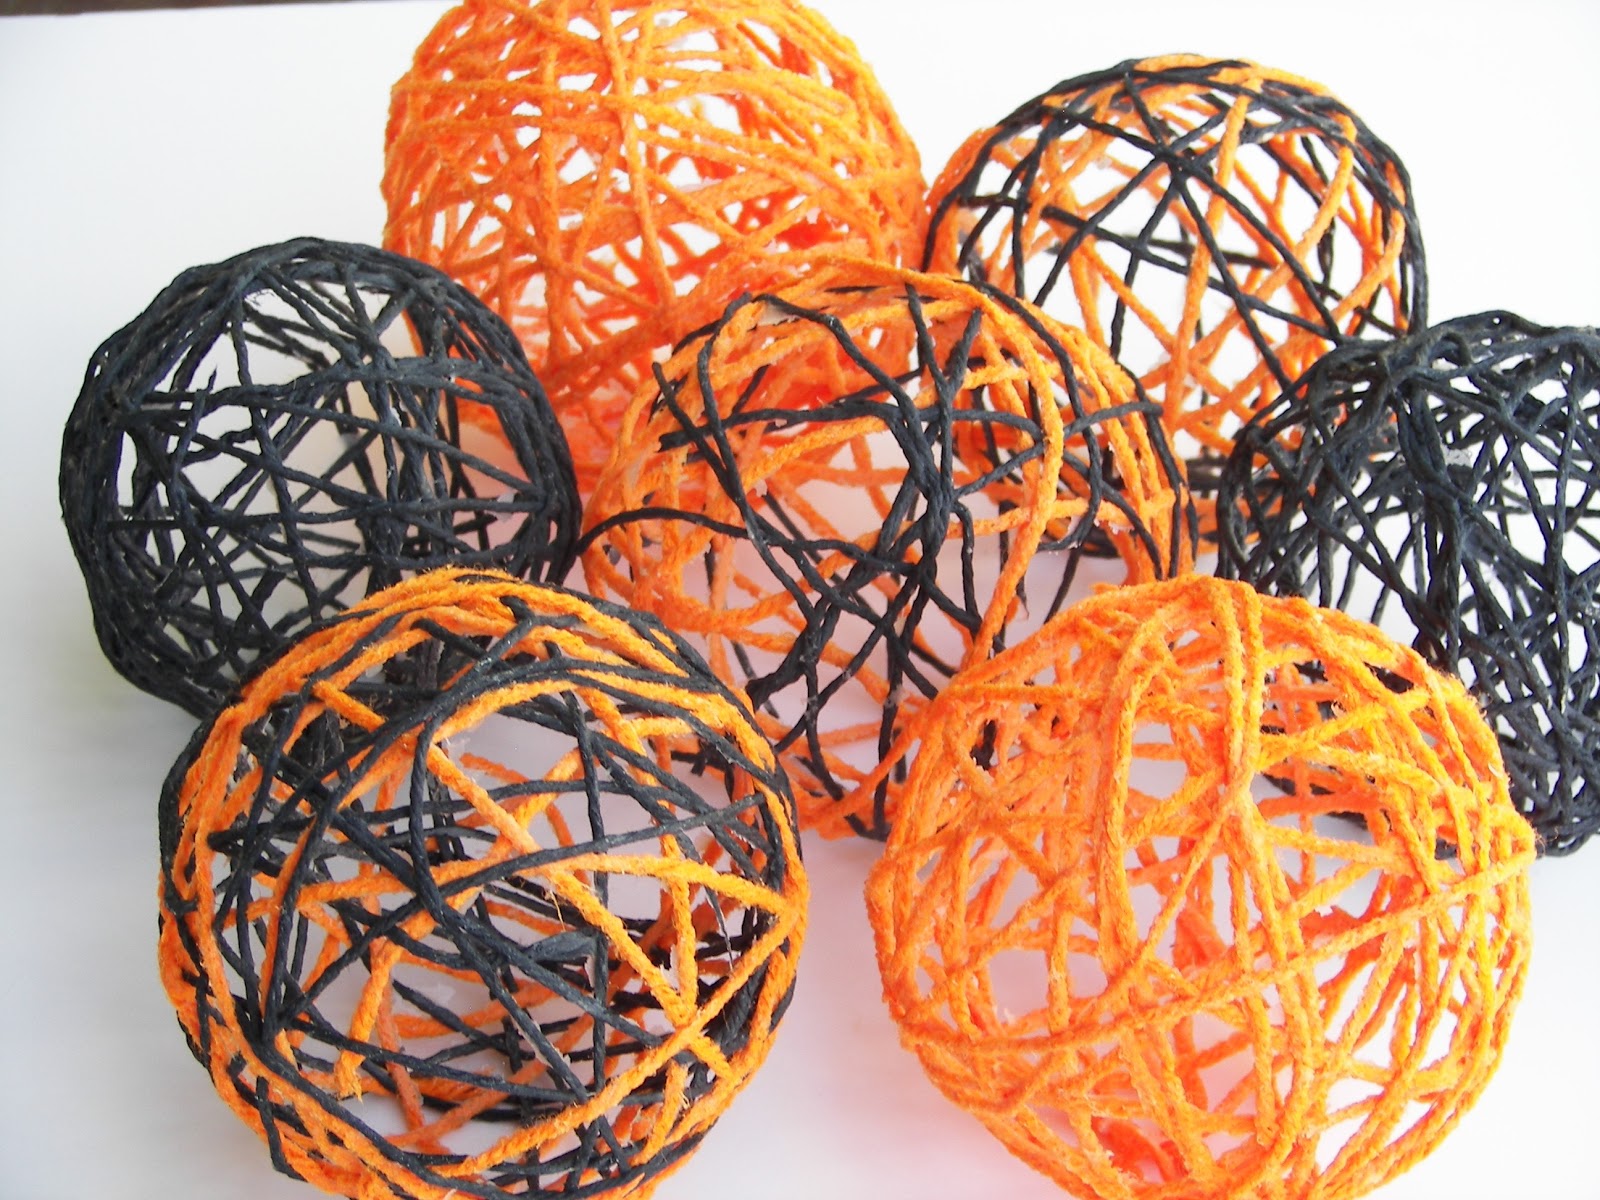
Halloween Yarn Spheres
These Halloween yarn spheres from Red Couch Recipes are so clever and easy. And better yet they cost almost nothing to make. They would look great in a nice Halloween bowl on a coffee or console table. This is a nice and easy project to make with kids too.

Friday, October 14, 2011
Creepy Coconut Kiwi Panna Cotta
You had me at coconut! This looks disgustingly awesome but sounds delicious. The dessert from Kitchen Table Scraps is the perfectly ghoulish way to finish off Halloween dinner. It may look disgusting but with coconut, kiwis and raspberries how can you go wrong?

Halloween Caramel Apples
Whenever I was a kid and I would go with my Dad to Disneyland or Six Flags, the day wasn't complete without a caramel apple. And nothing says fall more than the changing colors of the leaves and anything made with apples. Sadly, the days of making these kinds of things and giving them out on Halloween instead of candy are over. Nevertheless, caramel apples are always a crowd pleaser with our kids and guests. Here are nine different Halloween caramel apple ideas for you to enjoy.
 |
| Country Living apples |
 |
apples from my recipes
|
 |
| Southern Living candy apples |
 |
cinnamon caramel apple pumpkins from Bakingdom
|
 |
| spider webbed caramel apples from Purple Chocolat Home |
 |
| classic caramel apples with a twist from dot com Women |
 |
| Blondie's Cakes & Things' apple pie caramel apples |
 |
| creepy caramel apples from Marvelous Girl |
 |
| apple pie apple by The Cooking of Joy |

Thursday, October 13, 2011
Apple Monsters
Looking for a (semi) healthy alternative to all the edible Halloween treats out there? Parents {via Craft Gossip} has created these super cute apple monsters using (duh) ripe apples and various candy. There's really no limit to all the creative creatures you can make with those two simple ingredients. Better yet, prepare the apple(s) and let your kids have fun making their own apple monster. Semi-healthy treats never looked so frightfully good!

Wednesday, October 12, 2011
Slice & Bake Candy Corn Cookies
I'm obsessed with candy corns this Halloween season...candy corn cupcakes, candy corn decorations, candy corn cookies, candy corn anything! For me, candy corn epitomizes Halloween and I LOVE Halloween! Check out these super cute and easy to make slice and bake candy corn cookies from The Sweet Adventures of Sugarbelle.

Halloween Hat Pack
Last year when my youngest was 6 months old I made him a pumpkin fleece hat. He looked absolutely adorable in it (if I don't say so myself). Now that he's older I think I'll try the dinosaur hat. If you're a beginner at sewing fear not, these are actually very easy to make and fleece is great because it's very inexpensive. So if you mess up and have to start over you don't feel like you've just wasted a bunch of money. Thanks Fleece Fun! for sharing these cute fleece hat patterns.
 !
!
!
Glitter Pumpkin Candle Holders
I just love these glitter pumpkin candle holders from Lee la la. And they are so simple to make! Learn how to make them here.


Tuesday, October 11, 2011
Deliciously disgusting Halloween food
It's times like this with Halloween right around the corner and all the cute and disgusting things you can do with food that I really find myself wishing my kids weren't such picky eaters. Unfortunately the amount of cute and creepy things you can make for Halloween with chicken nuggets, noodles, pizza, chips, etc. is extremely limited. But if you're kids are better eaters than mine, you'll enjoy whipping up some of these disgusting Halloween recipes courtesy of Cute Food For Kids.


Skeleton and spider eggs from Cute Food For Kids
Meatloaf hand from Not Martha

Pastry Intestines from The Knead For Speed

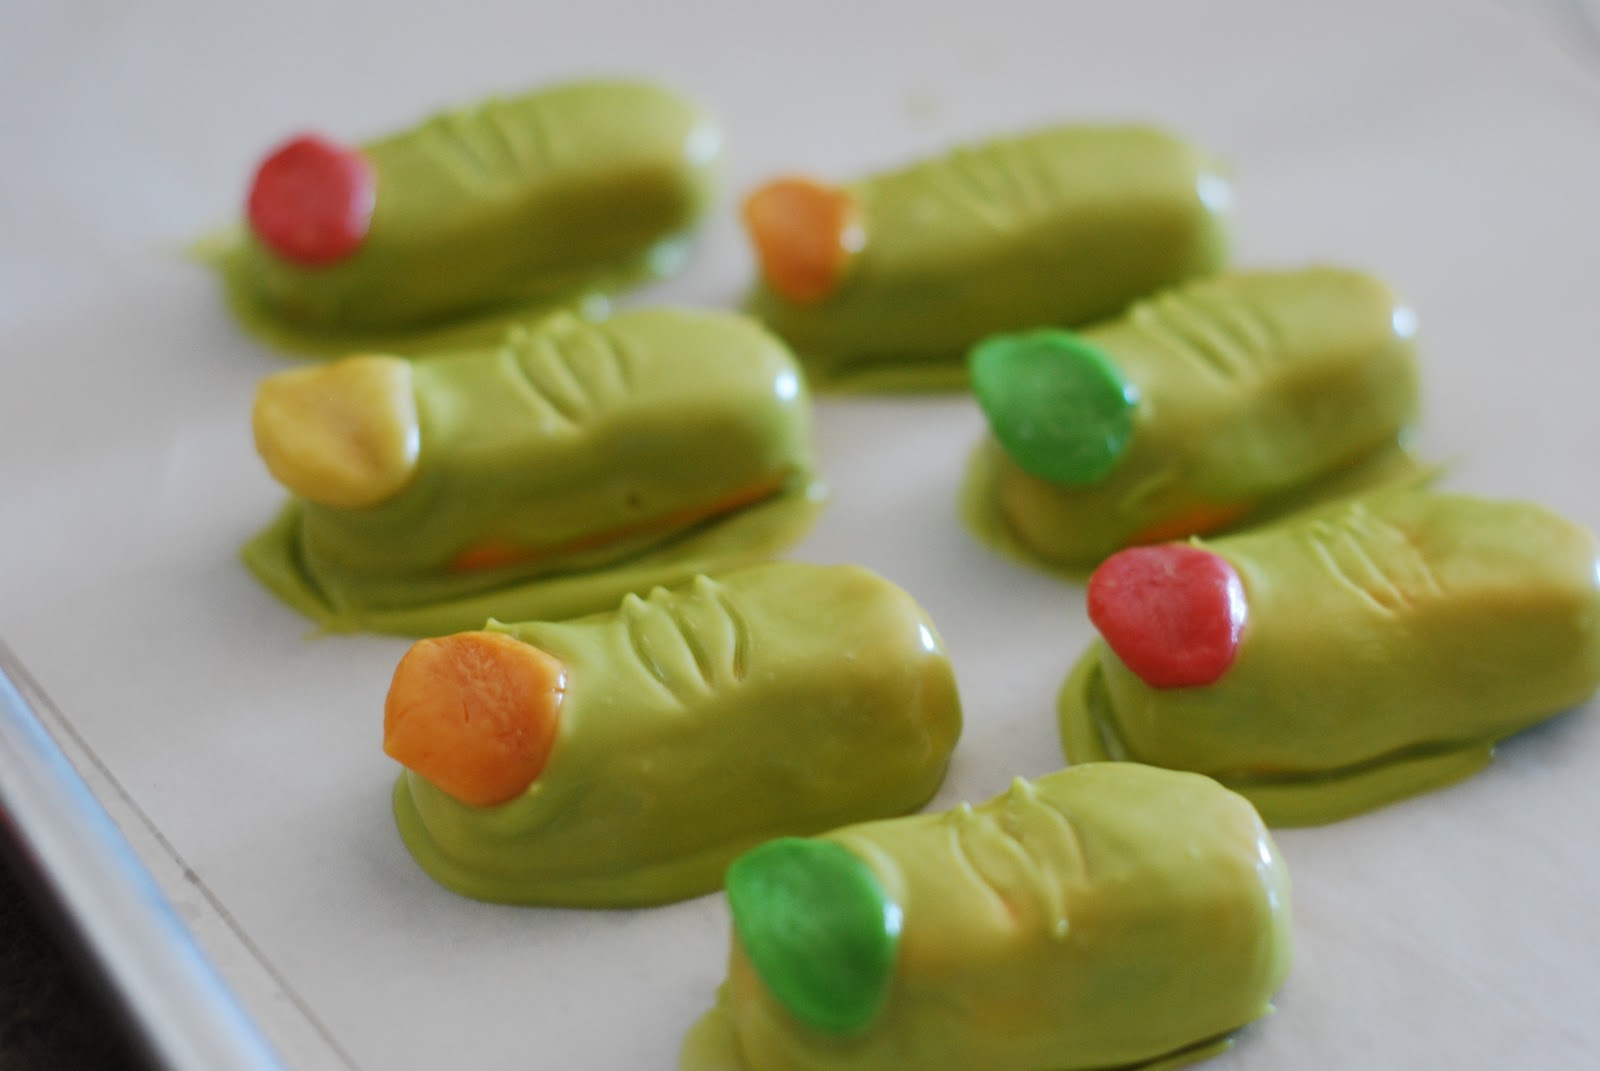
I make these witch finger cookies every year and they are always a hit with my kids and guests. My daughter loves them so much (and she doesn't even like cookies) that she likes to pack them in her lunch and take them to school. This recipe comes from Peppers Pollywogs.

Jello "Blood" Worms from The Idea Room

Bloody Band-Aids from Katherine Marie Photography

How dirty do you like your Martinis? These radish eyeballs from Foodista are perfect for a Halloween Martini!


Skeleton and spider eggs from Cute Food For Kids
Meatloaf hand from Not Martha
Pastry Intestines from The Knead For Speed

I make these witch finger cookies every year and they are always a hit with my kids and guests. My daughter loves them so much (and she doesn't even like cookies) that she likes to pack them in her lunch and take them to school. This recipe comes from Peppers Pollywogs.

Jello "Blood" Worms from The Idea Room

Bloody Band-Aids from Katherine Marie Photography

How dirty do you like your Martinis? These radish eyeballs from Foodista are perfect for a Halloween Martini!


Brain Cupcakes...how can something with such a gross name be so delicious?
I love these brain cupcakes. These are PERFECT for a Halloween party! Only someone as clever as Martha Stewart could come up with something as clever as this. 
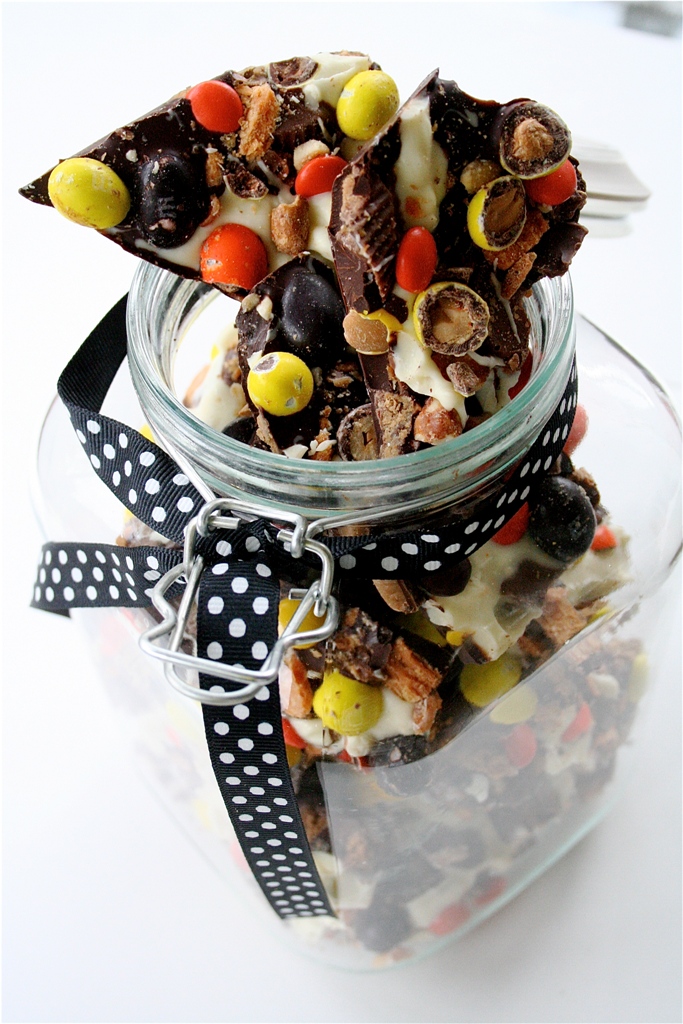
Halloween Chocolate Bark....YUM!
How delicious does this Halloween chocolate bark look? This would make the perfect holiday treat for teachers or co-workers. I have no choice but to make a batch of this delicious treat, courtesy of The Caffeinated Globe.

Halloween Cake Pops that are just too cute to eat!
Family Circle has shared how to make some super cute cake pops for the Halloween season.

Basic Cake Pop Instructions:
Ingredients
2. Once cake is cooled, get organized and set aside at least an hour to crumble, roll and dip 4 dozen cake balls.
3. Crumble cooled cake into a large mixing bowl: Cut a baked 13 x 9-inch cake into four equal sections. Removea section from the pan, break it in half and rub the two pieces together over a large bowl, making sure to crumbleany large pieces that fall off. You can also use a fork to break apart any larger pieces. Repeat with each section until entire cake is crumbled into a fine texture. (If large pieces are mixed in, the cake balls may turn outlumpy and bumpy.) You should not see any large pieces of cake.
4. Add 3/4 of the container of frosting. Mix it into the crumbled cake, using the back of a large metal spoon, until thoroughly combined. (You will not need the remaining frosting; if you use the entire container, the cake balls will be too moist.)
Tip
Basic Cake Pop Instructions:
Ingredients
- 1 18 1/4 ounce box cake mix
- 13 x 9 x 2-inch cake pan
- Large mixing bowl
- 1 16 ounce container prepared frosting
- Large metal spoon
- Wax paper
- 2 baking sheets
- Plastic wrap
- Black edible-ink pen
Directions
1. Bake cake as directed on the box, using a 13 x 9 x 2-inch cake pan. Let cool completely.2. Once cake is cooled, get organized and set aside at least an hour to crumble, roll and dip 4 dozen cake balls.
3. Crumble cooled cake into a large mixing bowl: Cut a baked 13 x 9-inch cake into four equal sections. Removea section from the pan, break it in half and rub the two pieces together over a large bowl, making sure to crumbleany large pieces that fall off. You can also use a fork to break apart any larger pieces. Repeat with each section until entire cake is crumbled into a fine texture. (If large pieces are mixed in, the cake balls may turn outlumpy and bumpy.) You should not see any large pieces of cake.
4. Add 3/4 of the container of frosting. Mix it into the crumbled cake, using the back of a large metal spoon, until thoroughly combined. (You will not need the remaining frosting; if you use the entire container, the cake balls will be too moist.)
5. The mixture should be moist enough to roll into 11/2-inch balls and still hold a round shape. After rolling the cake balls by hand, place them on a wax papercovered baking sheet.
6. Cover with plastic wrap and chill for several hours in therefrigerator, or place in the freezer for about 15 minutes. You want the balls to be firm but not frozen.
7. If you're making a project that calls for uncoated cake balls, stop here and proceed to decorate the cake balls, following the project instructions.
Tip6. Cover with plastic wrap and chill for several hours in therefrigerator, or place in the freezer for about 15 minutes. You want the balls to be firm but not frozen.
7. If you're making a project that calls for uncoated cake balls, stop here and proceed to decorate the cake balls, following the project instructions.
- The cake balls will be easier to roll if you wash and dry your hands periodically during the rolling process. Dry your hands completely each time, and make sure you don't get water in the candy coating, as this can make it unusable.
Jack-o-lantern Cake Pops
Ingredients
- 48 uncoated Basic Cake Balls
- 48 ounces (3 pounds) orange candy coating
- Deep, microwave-safe bowl
- 48 paper lollipop sticks
- 48 green Tic Tac mints or similarly shaped candy
- Styrofoam block
- Black edible-ink pen
Directions
1. Have the cake balls chilled and in the refrigerator.
2. Melt the orange candy coating in a microwave-safe plastic bowl, following instructions on the package. The coating should be about 3 inches deep for easier dipping. (It'sbest to work with about 16 ounces of coating at a time.)
3. When you are ready to dip, remove a few cake balls from the refrigerator at a time.
4. One at a time, dip about 1/2 inch of the tip of a lollipop stick into the melted candy coating, and insert the stick straight into a cake ball, pushing it no more than halfwaythrough. Dip the cake pop into the melted coating, and tap off any excess coating: Hold the pop over the bowl in one hand, and tap your wrist gently with your other hand.(If you use the hand holding the cake pop to shake off excess coating, the force of the movement will be too strong and could cause the cake ball to loosen or fly off the lollipop stick.) The excess coating will fall off, but you will need to rotate the lollipop stick so the coating doesn't build up on one side, making it too heavy on that side. If too much coating starts to build up at the base of the stick, simply use your finger to wipe it off, spinning the lollipop stick at the same time. This can happen if the coating is too thin or too hot. It's not as hard as it sounds; it just takes a little practice.
5. Immediately insert a Tic Tac into the very top of the pumpkin pop. Hold in place until set, and let dry completely in the Styrofoam block. Repeat with the remaining pumpkins until they all have stems.
6. Add jack-o'-lantern faces with a black edible-ink pen, and let dry completely in the Styrofoam block
Black Cat Cake Pops
Ingredients
- 48 uncoated Basic Cake Balls
- 48 ounces (3 pounds) white candy coating
- Deep, microwave-safe plastic bowl
- Black candy coloring (not food coloring)
- 48 paper lollipop sticks
- Styrofoam block
- 96 chocolate chips
- 48 red rainbow chip sprinkles
- 96 yellow or white oval sprinkles
- Black edible-ink pen
- Kitchen knife
- Toothpicks
Directions
1. Have the cake balls chilled and in the refrigerator.
2. Melt the white candy coating in a microwave-safe plastic bowl, following the instructions on the package. The coating should be about 3 inches deep for easier dipping. (I usually work with about 16 ounces of coating at a time.)
3. Tint the coating with black candy coloring. Keep adding color, stirring, until the coating is dark enough.
4. When you are ready to dip, remove a few cake balls at a time from the refrigerator, keeping the rest chilled.
5. One at a time, dip about 1/2 inch of the tip of a lollipop stick into the melted candy coating, and insert the stick straight into a cake ball, pushing it no more than halfwaythrough. Dip the cake pop into the melted coating, and tap off any excess coating: Hold the pop over the bowl in one hand, and tap your wrist gently with your other hand. (If you use the hand holding the cake pop to shake off excess coating, the force of the movement will be too strong and could cause the cake ball to loosen or fly off the lollipop stick.) The excess coating will fall off, but you will need to rotate the lollipop stick so the coating doesn't build up on one side, making it too heavy on that side. If too much coating starts to build up at the base of the stick, simply use your finger to wipe it off, spinning thelollipop stick at the same time. This can happen if the coating is too thin or too hot. It's not as hard as it sounds; it just takes a little practice.
6. Let dry in a Styrofoam block.
7. Now work on the ears. Submerge the chocolate chipsin the black candy coating, one at a time. Remove (you can use the end of a kitchen knife to lift them out) and attach two to the top of each pop for the ears. Hold them in place until the candy coating sets like glue, and place in the Styrofoam block to dry. Repeat until all the cake pops have black ears.
8. When the pops are dry, use a toothpick to dot a smallamount of melted candy coating in position for the nose,and attach a red rainbow chip sprinkle. Use the same technique to attach two oval sprinkles for the eyes.
9. Using a black edible-ink pen, draw a straight line down the center of each oval sprinkle to finish the eyes. Let drycompletely.
- You can also use round confetti sprinkles for the eyes.
Subscribe to:
Posts (Atom)